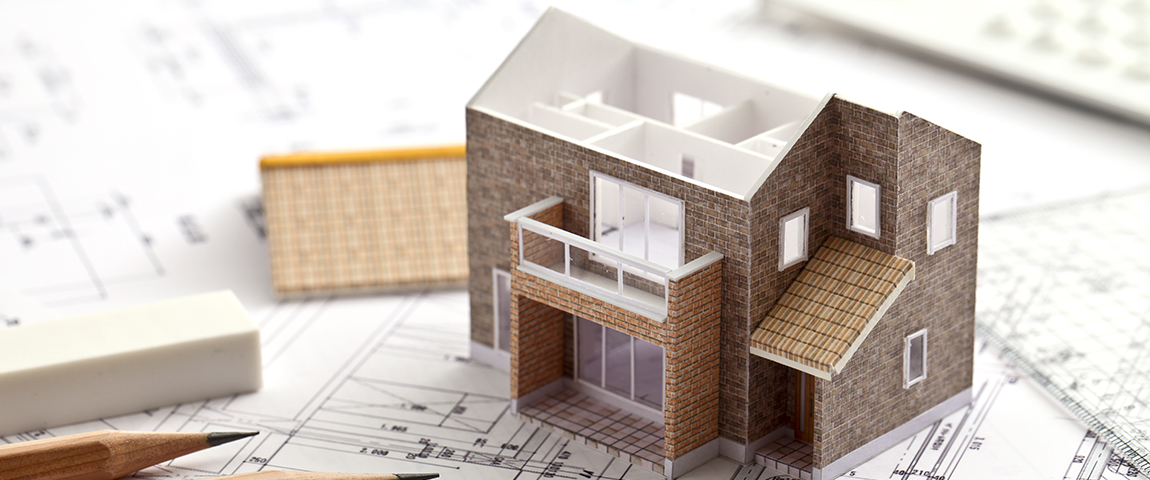
Avoiding Common Mistakes: Tips for a Smooth Toilet Replacement Project
Replacing a toilet may appear to be a straightforward task, yet without legitimate planning and information, it can lead to frustrating setbacks. Here find out how to replace your toilet for navigating a smooth toilet replacement project while avoiding common pitfalls.
-
Plan Ahead
Before starting your toilet replacement project, gather all the necessary instruments and materials. This incorporates another toilet, a wax ring, bolts, torques, and a clay blade. Measure the space to ensure that the new toilet fits correctly, taking into account clearance around the base and distance from walls.
-
Switch off the water supply
Before eliminating the old toilet, shut off the water supply valve located behind the toilet or at the main water line. Flush the toilet to drain the remaining water from the tank and bowl. Utilize a wipe or towel to soak up any residual water in the bowl and tank.
-
Disconnect and dispose of the old toilet.
Carefully disengage the water supply line and eliminate the bolts tying down the toilet to the floor. Lift the old toilet straight up to avoid damaging the flange or ground surface. Eliminate the old wax ring and assess the flange for any damage or consumption.
-
Prepare the flange and area.
Clean the flange completely, ensuring that it is level and free of trash. Check for any signs of damage or wear that could affect the new toilet’s seal. In the event that is necessary, replace the flange or make repairs before continuing with installation.

-
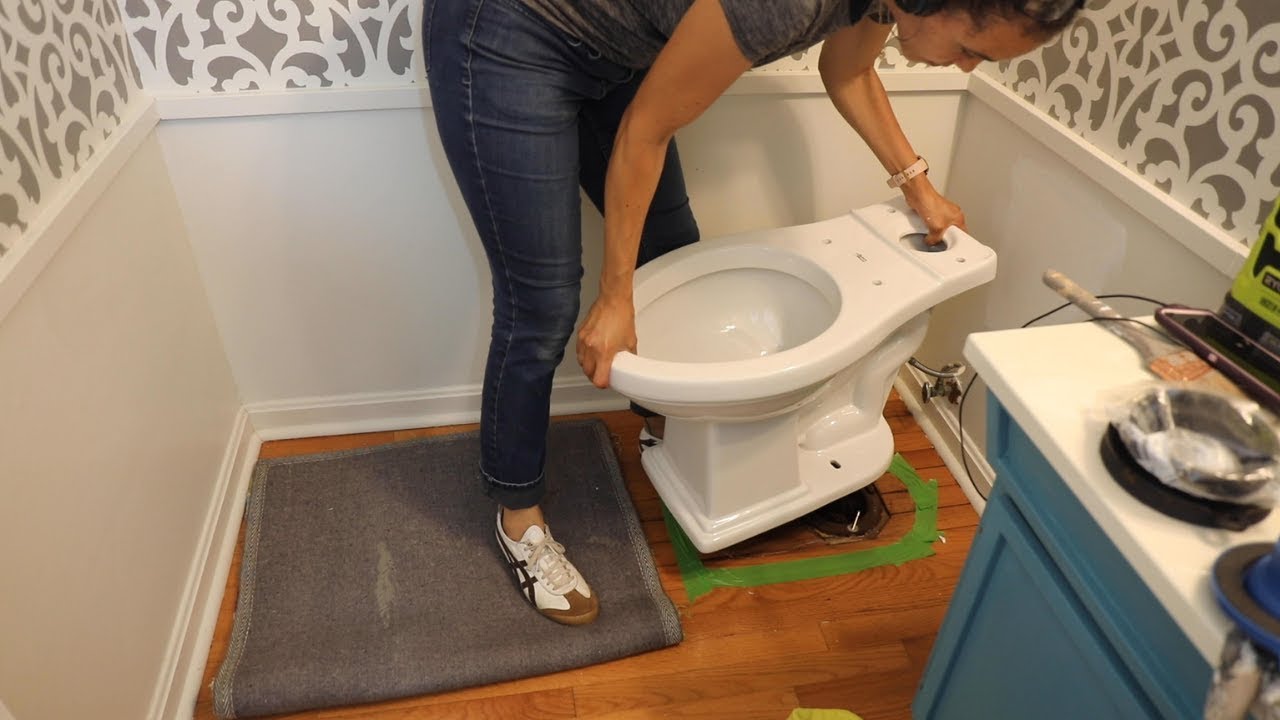
Install a new wax ring and toilet.
Place another wax ring onto the flange; ensure it is focused and appropriately seated to guarantee it. Carefully lower the new toilet onto the flange, aligning it with the bolts. Tenderly press down to pack the wax ring and create a protected seal. Hand-fix the nuts onto the fasteners, alternating sides to guarantee even tension.
-
Secure and adjust
Use a wrench to fix the nuts, taking care not to over-fix, which could crack the porcelain. Actually, look at the toilet for stability and adjust as expected to ensure it sits level and doesn’t shake. Reconnect the water supply line, and turn on the water to fill the tank.
-
Test for leaks and functionality.
Flush the toilet multiple times after filling it to check for leaks around the base and associations. Search for any indications of water pooling or dribbling. If necessary, adjust associations and fix fittings to eliminate leaks.
By following these tips to know How to Install a toilet the opportunity to prepare appropriately, you can avoid common mistakes and guarantee a smooth toilet replacement project. Legitimate planning, careful installation, and intensive testing for leaks will assist you with achieving a fruitful result, leaving you with a functional and reliable toilet that addresses your home’s issues.